It’s never good news when those little lights on your dashboard start to glow.
These symbols (almost) always light up when there’s something wrong with your vehicle. They aren’t the kinds of lights to flash when everything is 100% good to go.
Your coolant level sensor, closely connected to your temperature sensor, is one of the most important to be on the lookout for.
If you see this icon start to light up it means that you have to address your coolant problem ASAP.
Ignore it and you might end up on the side of the road with an engine that has seized up – or you might end up on the side of the road with an engine on fire.
What is a Coolant Level Sensor?
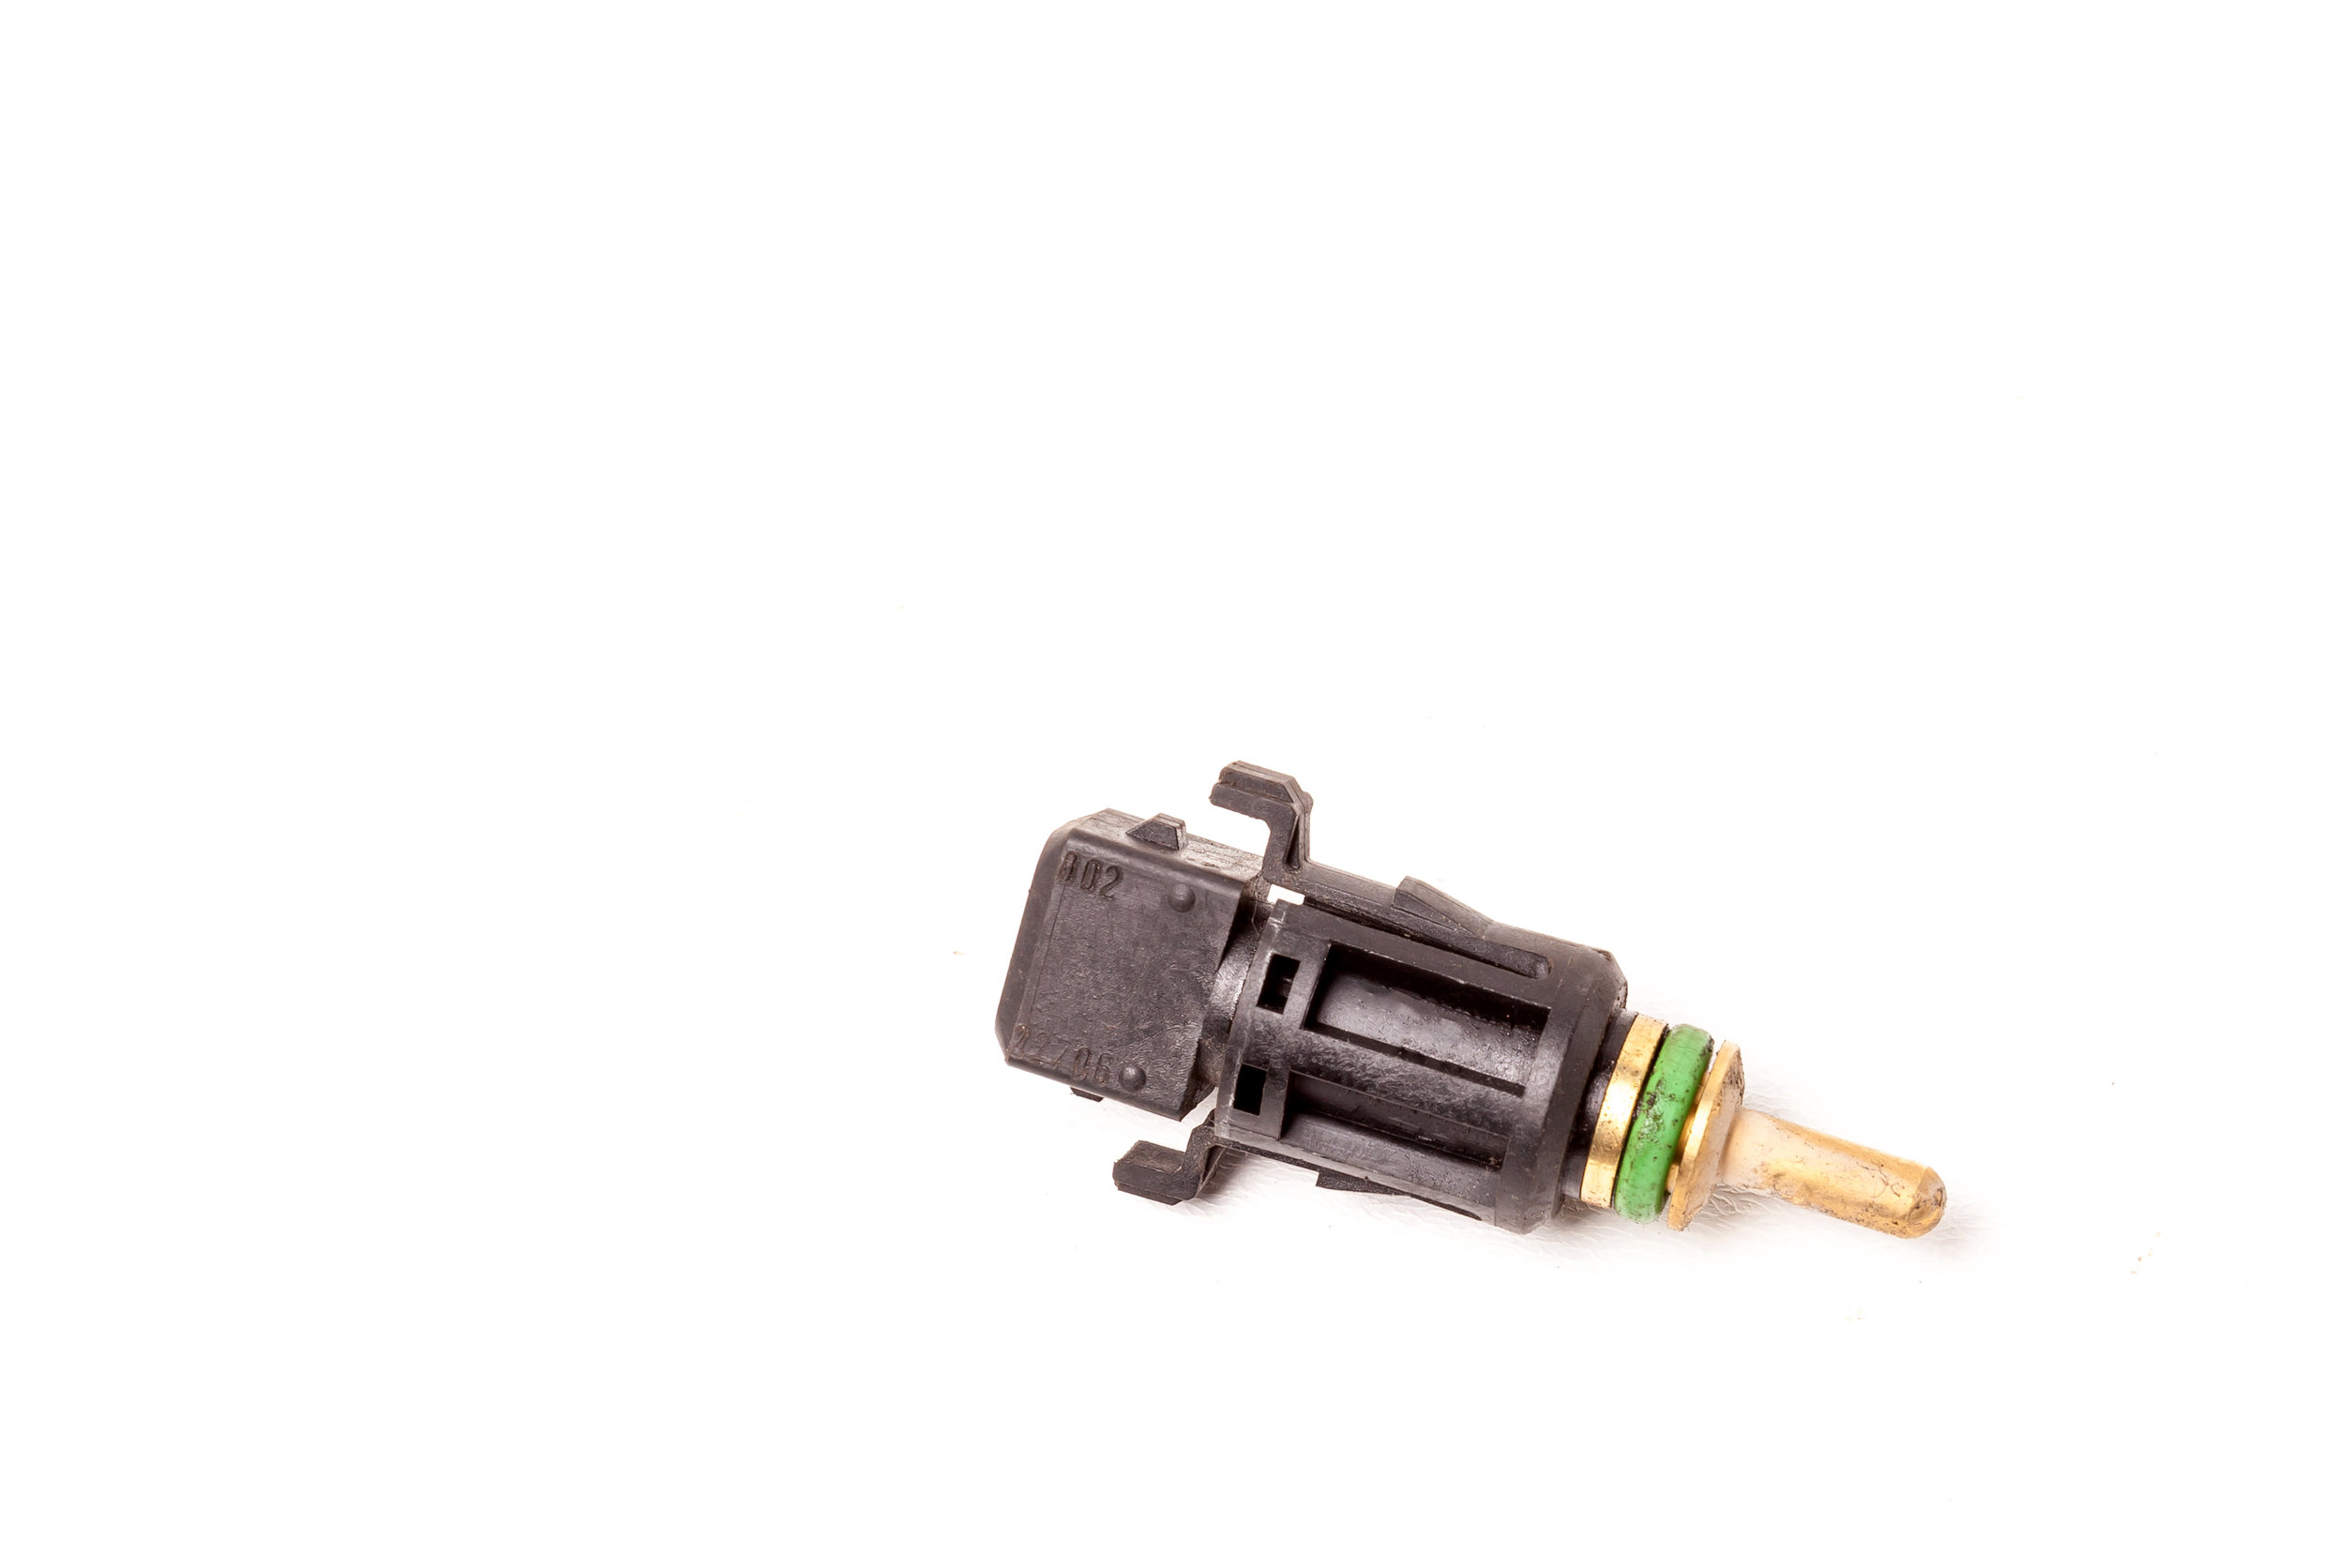
Your coolant level sensor is a funky looking little icon.
It sort of looks like a thermometer with three little lines coming off of the “thermometer post”, with the bottom of the thermometer just barely submerged in two waves of coolant.
If you’ve ever seen the icon before it’s something that you’ll recognize straightaway, and it’s pretty easy to distinguish from the rest of the pack.
As we highlighted a moment ago, the odds are pretty good that if your coolant level sensor pops up on the dashboard you’re also going to see your temperature gauge get warmer than it normally does.
Hopefully it doesn’t get too hot (that would indicate that you might be completely out of coolant or something else is seriously wrong), but it’s generally going to be warmer than normal operating temperature.
This icon is directly linked (electronically) to the coolant level sensor that is physically attached to the side of your radiator (if your vehicle was made before 2010) or directly inside of your vehicle (if you have a 2010 or newer car).
The sensor itself uses electronic components to determine what the level of coolant is within the radiator or coolant reservoir, letting you know the moment that the fluid has dropped below safe operating levels.
As soon unsafe operating levels are detected that little light is going to glow on your dashboard and you’ll know it’s time to add coolant to the tank.
How Long Do Coolant Sensors Last?
There’s no real “traditional lifecycle” for coolant sensors.
Some cars are going to have original coolant sensors for their entire lifecycle, sensors that can last for 200,000 miles or more – sometimes much more, even!
Other cars are going to have their OEM coolant sensor give up within the first couple of years of ownership.
You never really know exactly what you are dealing with here.
The best way to make sure that your coolant sensor lasts as long as possible is to keep an eye on your coolant levels, to keep your coolant system in perfect working order, and to flush your coolant (and other fluids) as recommended by the manufacturer.
How to Replace a Faulty Coolant Sensor
Let’s say, though, that you are dealing with a coolant sensor that isn’t working the way it should be.
You’re getting a glowing light on your dashboard that tells you that your coolant level is low but the moment you pop the hood and open up your radiator cap you see that everything is good to go.
That’s a surefire sign that this core piece of hardware (and an important diagnostic tool) is on the fritz.
Replacing it shouldn’t be that much of a challenge.
Disconnect Your Battery
The first thing you want to do is disconnect your battery cables from your car’s battery.
You don’t ever want to work on anything electrical under the hood of your vehicle when electricity is coursing through the wires and cables. That’s a surefire recipe to get electrocuted yourself – and you might even cause significant damage to your vehicle along the way.
No, you’re going to want to locate your battery terminals and disconnect both of the cables (the positive and the negative) directly at the terminals themselves.
That’s the only way to be sure that there isn’t any juice running to your sensor.
Find the Faulty Sensor
The next piece of the puzzle is to track down where your sensor is located.
As we highlighted a moment ago, the overwhelming majority of vehicles that were made before the year 2010 have the sensor located on the outside of the radiator.
You should be able to find this pretty quickly with a quick Google search for its location on your specific year, make, and model vehicle – or you can check a service manual.
Vehicles that are newer than 2010 may have a little more labor-intensive project ahead of them. These sensors are usually located within the radiator (though there’s almost always access to get that part out without having to take your whole engine part).
Remove the Wiring Harness on the Sensor
Now you are going to want to disconnect the wiring harness that connects the sensor itself to your onboard computer.
This is only going to take a couple of seconds (if it takes that long at all). You usually have to flip up a latch, pull a tab, or just gently separate the harness from the sensor itself.
It’s really not that hard but you want to get it off and away before you do anything else..
Position Drain Pan
Before you start wrenching on that sensor and unscrewing it from its position you want to be sure that you have a drain pan underneath the sensor so that any coolant trapped within the system spills out into the pan and not all over the ground or your driveway.
Don’t ignore this step!
There’s nothing worse than having potentially toxic and poisonous coolant spilled out all over your property.
The last thing you want to have to worry about is one of your pets, one of the neighborhood pets, or even one of your kids getting into this sticky sweet substance without realizing just how poisonous it can be.
Pop the Sensor Out
Now all you have to do is stick the right size ratchet on the sensor and start spinning it out of its pocket.
Go slow, be deliberate, and allow the coolant from the system to leak out before you back the whole thing out.
If you spin the sensor out to quickly you’re going to have a jet of coolant flush all over the place, and that’s going to create a bit of a mess.
Clean Up and Install New Sensor
All that’s really left to do right now is to clean the area where the old sensor was – making sure to get rid of all the surface gunk, gout, and crust that is an inevitably going to have built up inside of your engine bay.
Take your time and try to get things as clean as possible.
Sometimes it’s even a good idea to bust out a little bit of brake cleaner to get really caked on gunk off.
As soon as everything is clear and good to go you can rub a little bit of new coolant on the sensor to lubricate it and then tighten it down into position.
Connect Wiring Harness and Your Battery and You are Good to Go
All that’s really left to do is to reconnect the wiring harness to the sensor itself, to reconnect your battery, and then to add any fluid needed to top the system off.
Now you are good to go!